Applying window tint film can be a rewarding DIY project that offers both functional and aesthetic benefits. Whether you’re looking to reduce glare, improve privacy, or protect your interior from harmful UV rays, the right tint can make all the difference. This guide will walk you through the process of applying tint film to glass, from preparation to finishing touches, so you can achieve a smooth and professional-looking result.
Step 1: Gather the Necessary Tools and Materials
Before starting, ensure you have all the essential tools at hand. Here’s what you’ll need:
- Window tint film
- Spray bottle with soapy water
- Squeegee or a soft cloth
- Utility knife or tint film cutter
- Measuring tape or ruler
- Lint-free cloth
- A heat gun (optional)
Having everything in place will help the application process go smoothly.
Step 2: Clean the Glass Thoroughly
The key to a flawless application starts with clean glass. Any dirt, dust, or debris on the surface can cause bubbles and imperfections under the film. Begin by cleaning the window with a gentle glass cleaner and a lint-free cloth. Be sure to remove all traces of grime, especially around the edges. You can also use soapy water to wipe down the glass again, ensuring it’s free of any leftover residues.
Step 3: Measure and Cut the Tint Film
Once your glass is clean, measure the dimensions of the window to ensure the film fits properly. Use a measuring tape or ruler to get accurate measurements, allowing an extra inch or two on all sides for trimming.
Next, lay the tint film flat on a clean, smooth surface with the adhesive side facing up. Cut the film to the size of the window, leaving a slight overhang to make it easier to trim once applied. Always remember that you can trim off the excess later, so it’s better to cut it slightly larger than necessary.
Step 4: Apply Soapy Water to the Glass
Now it’s time to apply the tint film to the window. Start by filling a spray bottle with soapy water. Lightly spray the glass to create a soapy surface. This will help the tint film slide around and position correctly, allowing you to adjust the film before it sticks. Be generous with the spray but avoid soaking the glass.
Step 5: Position the Tint Film on the Glass
Peel off the protective backing from the tint film, exposing the adhesive side. Carefully position the film onto the glass, ensuring it’s aligned properly. Use your hands to smooth out any large air bubbles and to help the film stick to the soapy surface. The film should slide easily and be repositionable as needed.
Take your time during this step to make sure the film is placed exactly where you want it. The soapy water will allow you to adjust the film until it’s properly aligned.
Step 6: Smooth Out Bubbles and Wrinkles
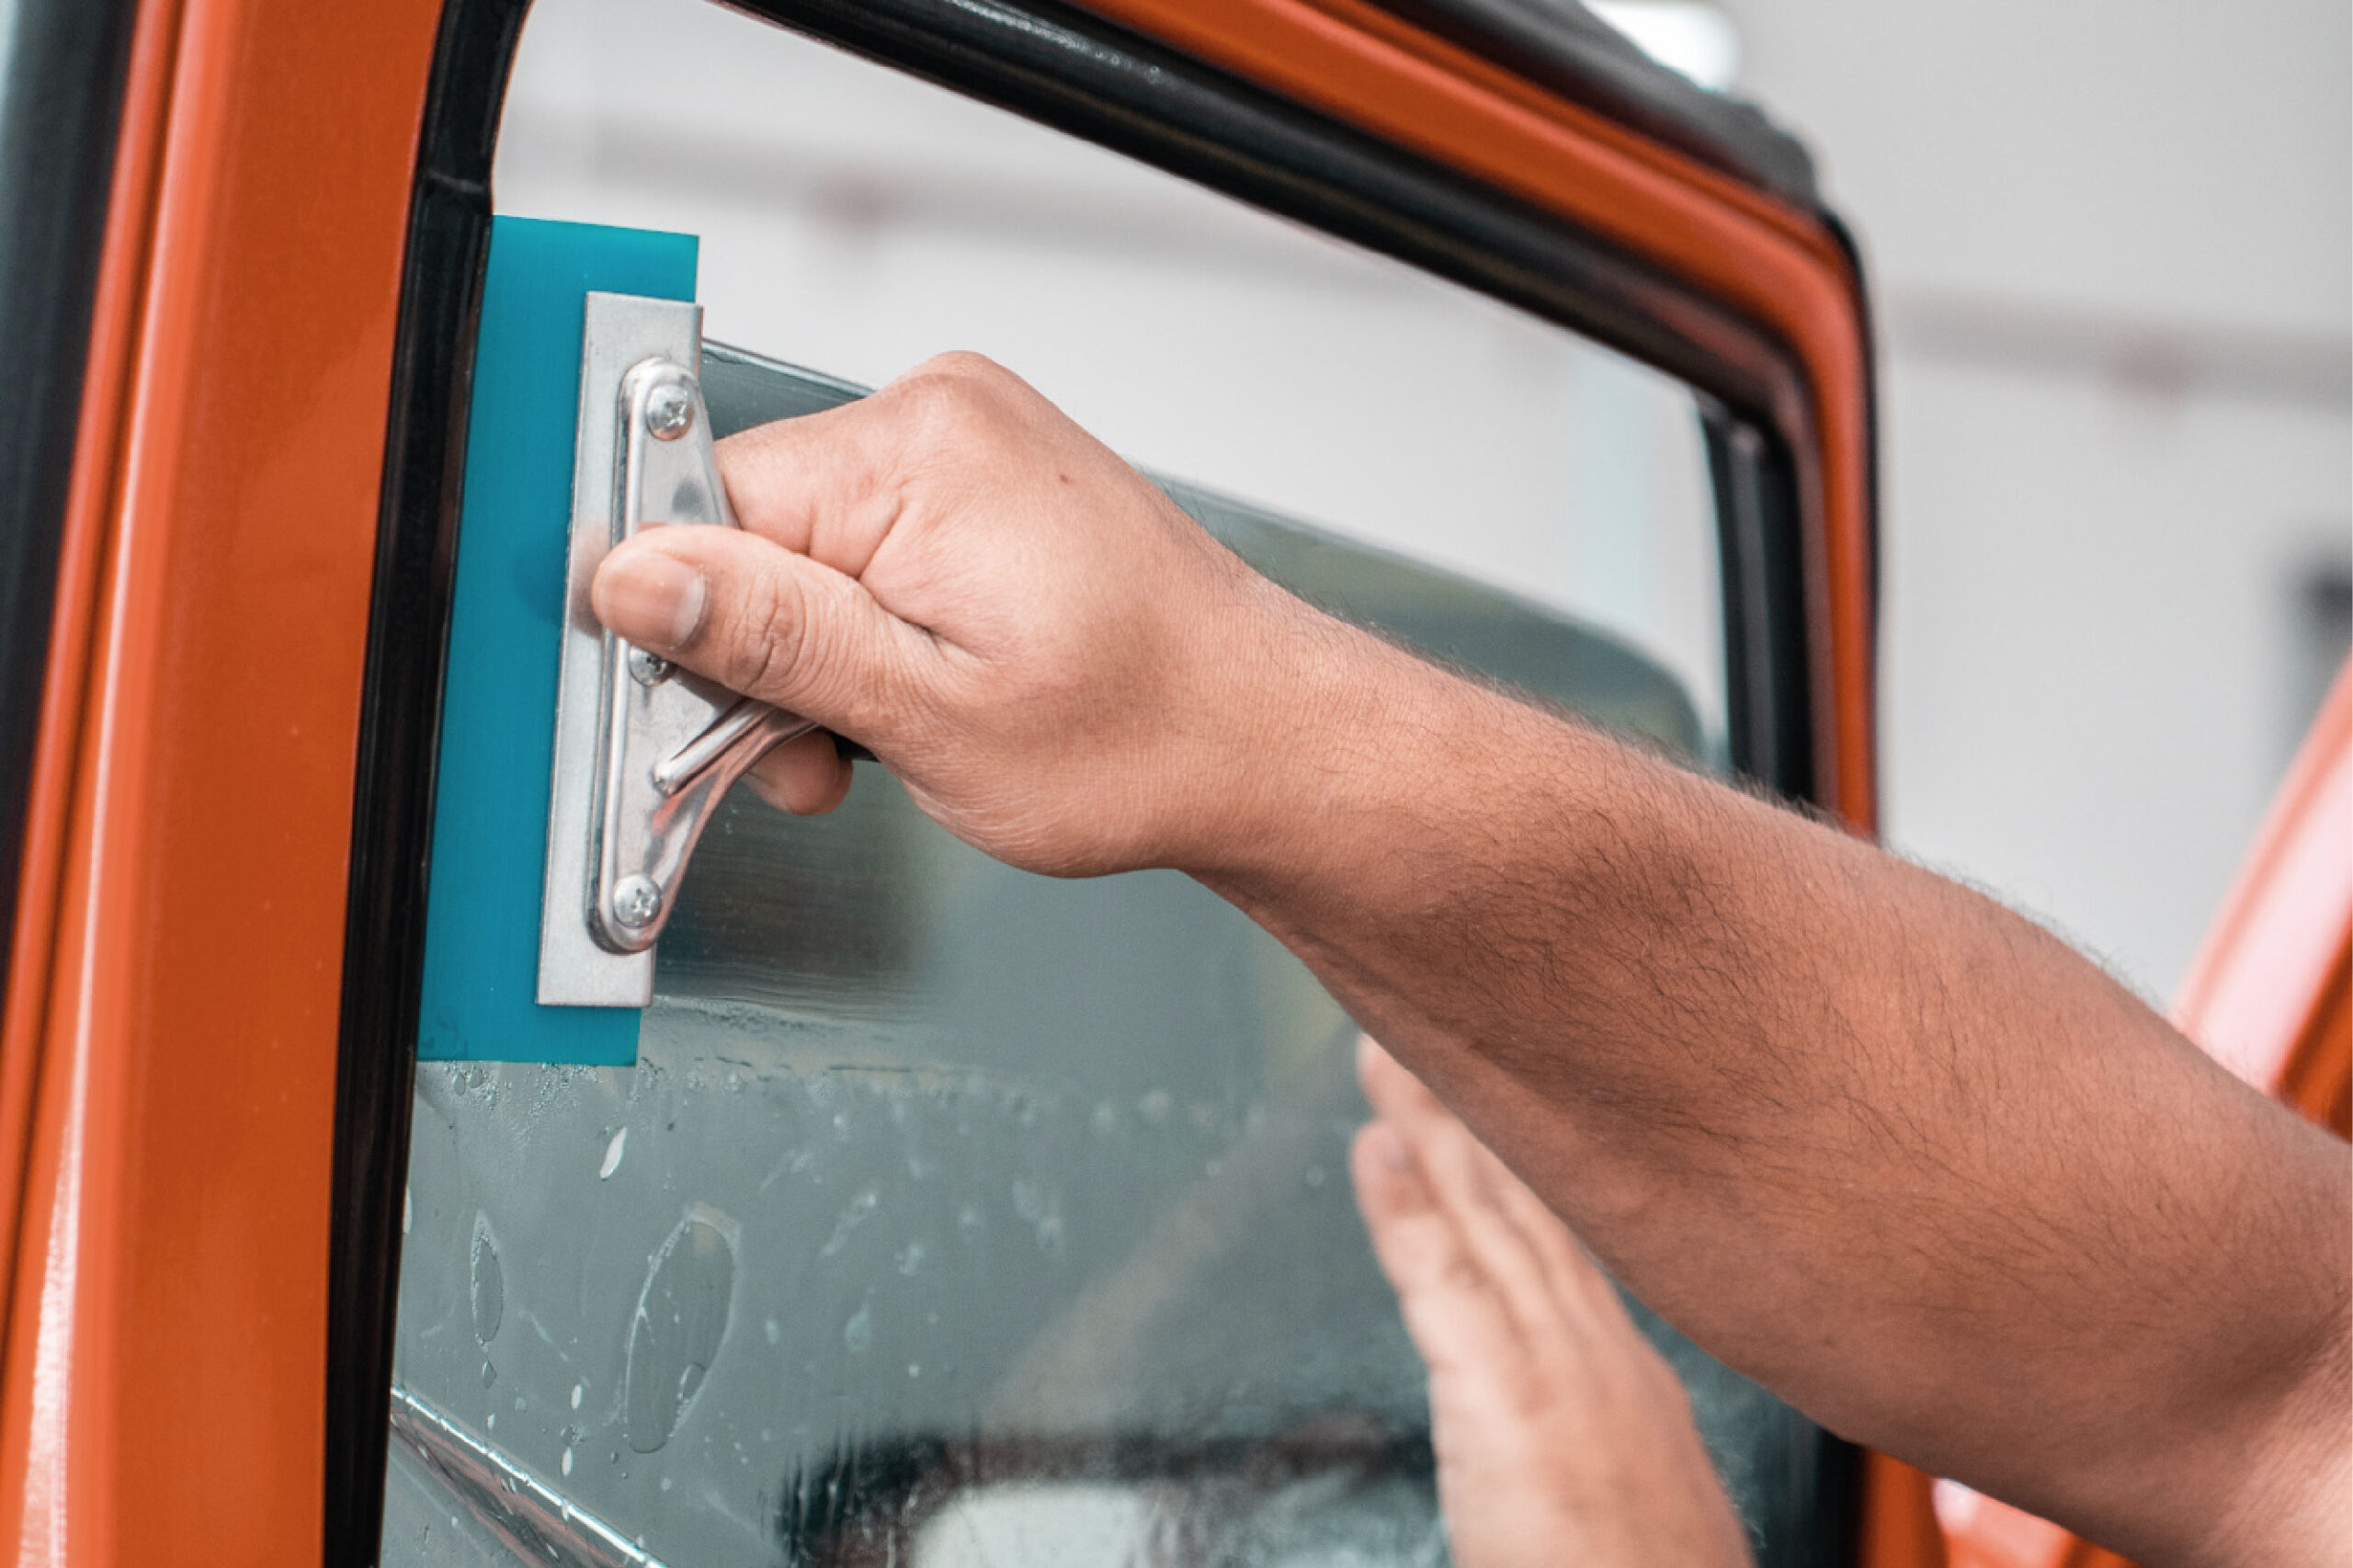
Once the film is in position, take a squeegee or soft cloth and begin pressing down on the film to remove air bubbles and excess moisture. Start from the center and work your way outward toward the edges. This will help ensure the film adheres evenly without trapped air. Be patient and gentle as you smooth the film out.
If you find any stubborn bubbles, you can carefully lift the corner of the film, spray more soapy water, and re-smooth it. Some minor imperfections may be unavoidable, but a careful application will minimize these.
Step 7: Trim the Excess Film
Once the tint is applied and smoothed, it’s time to trim off the excess film. Use a sharp utility knife or tint film cutter to carefully trim around the edges of the window. Be sure to leave a small gap between the film and the window edge to prevent peeling over time.
Step 8: Final Touches and Drying
After trimming, use a lint-free cloth to clean up any leftover water and smooth out the edges. If you have any wrinkles or bubbles, use a heat gun on a low setting to gently heat the film and make it more pliable. This can help you smooth out stubborn areas.
Let the tint film dry for at least 24 to 48 hours. During this time, avoid rolling down your windows or exposing the tint to direct sunlight, as this can cause the film to shift or peel.
Conclusion
Applying window tint film can be a satisfying project when done properly. By following these steps carefully, you’ll achieve a professional finish that enhances both the appearance and functionality of your windows. Whether you’re looking to reduce heat, improve privacy, or simply add a touch of style, a well-applied tint film will provide lasting benefits. With the right tools and patience, you can enjoy the benefits of tinted windows without the cost of professional installation.


