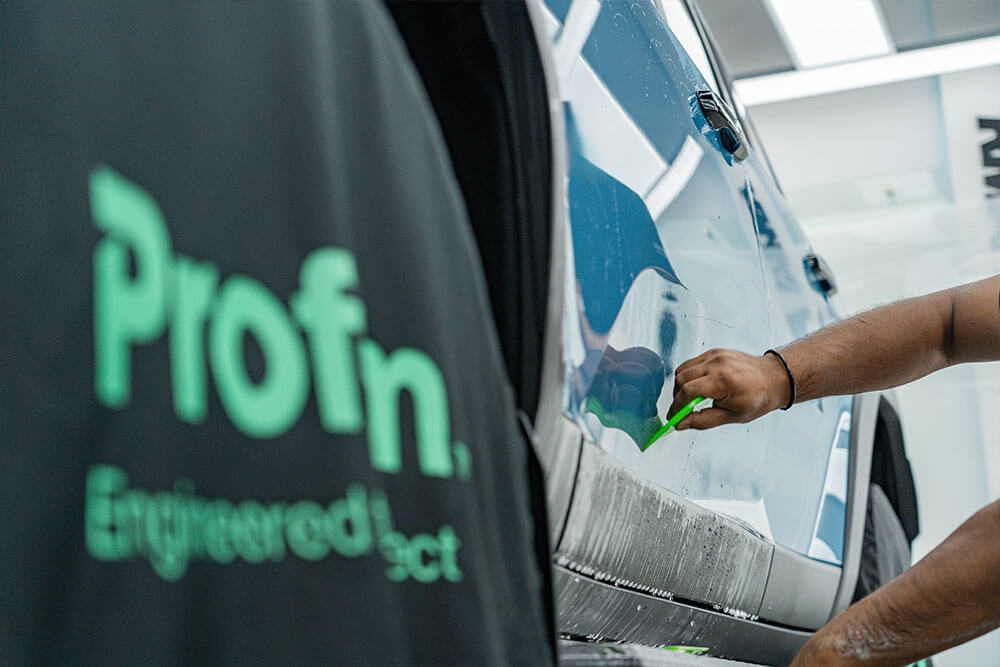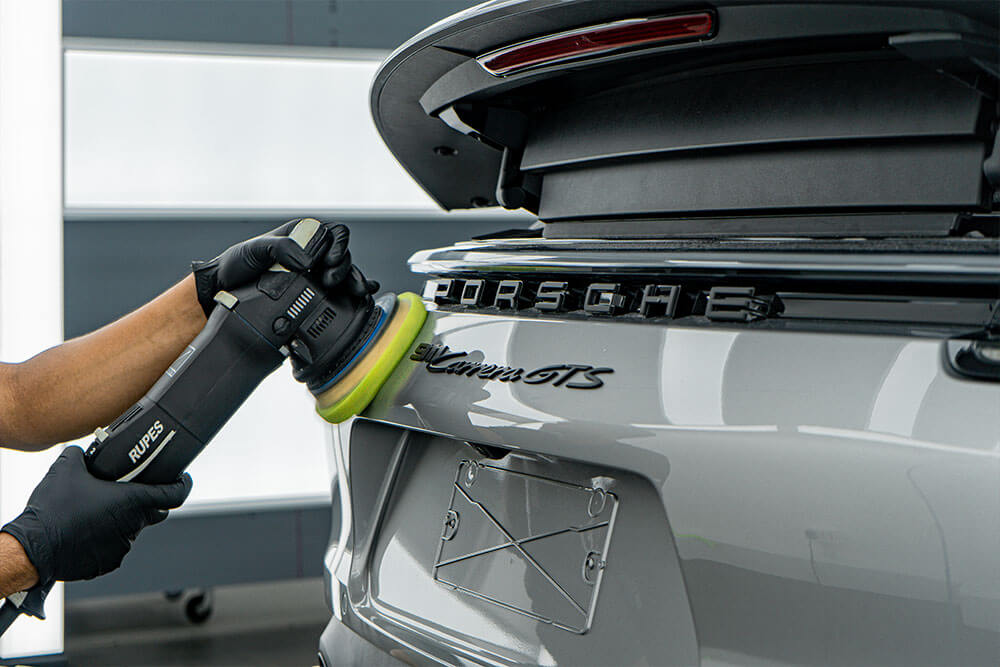
When it comes to protecting the investment you’ve made in your vehicle, Paint Protection Film (PPF) is an essential step. Not only does PPF safeguard your car from environmental damage, but it also keeps the paint looking fresh and pristine. However, before you rush to install PPF, it’s crucial to prepare your vehicle properly. Proper preparation ensures a flawless application and the long lasting durability of the film. Here’s how to get your car ready for PPF installation.
Thorough Cleaning
Before anything else, give your vehicle a thorough cleaning. This is not just a regular wash; the car needs to be spotless, free of any dirt, dust, or residue. A clean surface ensures that the PPF adheres properly to the paint. Use a high quality car shampoo to remove dirt and grime, followed by a careful drying process with a microfiber towel. Pay close attention to all the crevices, edges, and wheel wells, as any leftover contaminants can affect the installation.
Clay Bar Treatment
Next, a clay bar treatment should be performed. This step is vital for removing stubborn contaminants that regular washing might miss, such as tree sap, tar, or industrial fallout. A clay bar will smooth out the paint’s surface, providing an ideal foundation for the film. By removing these contaminants, you reduce the risk of imperfections under the PPF that could be visible once the film is applied.
Paint Correction
Paint correction is optional but highly recommended, especially if your vehicle’s paint is marred by swirl marks or scratches. The goal of paint correction is to smooth out imperfections in the clear coat and restore a glossy finish. If you’ve noticed any flaws in the paintwork, this is the time to address them. Once corrected, the paint will look smoother and clearer, which results in a more seamless appearance after the PPF is installed.
Dry the Surface Completely
After washing, claying, and correcting the paint, make sure the vehicle is completely dry. Any water left on the surface can hinder the PPF’s ability to bond properly with the paint. Use a clean microfiber towel to dry the vehicle, focusing on the areas around the edges where water tends to accumulate.
Address Any Paint Issues
Before the PPF is applied, it’s important to ensure that the paint is in perfect condition. If you notice any chips, scratches, or blemishes, they should be fixed beforehand. Applying PPF over damaged paint may trap imperfections, which can be more noticeable once the film is installed. For any chips or scratches, consider having them touched up or repaired to maintain a smooth, even surface.
Protect the Trim and Emblems
If your car has trim pieces, emblems, or other areas that you don’t want covered with PPF, mask them off. This will prevent the film from adhering to those parts and keep them clean during the installation process. Use painter’s tape or specialized masking tape to cover any areas you want to keep free from the film.
Let the Vehicle Settle
Once the vehicle is prepped, it’s important to give it time to settle. Let the paint and any recent touch ups fully cure before the PPF installation. This curing process ensures that no solvents or chemicals interfere with the adhesion of the film.
Choose a Professional Installer
Finally, once your vehicle is prepped, the next step is choosing a professional installer. While some might attempt a DIY approach, it’s often best to leave the installation to experienced professionals. A proper install not only ensures a perfect fit but also guarantees that the PPF will last for years.
By following these steps, you’ll set your vehicle up for a successful PPF application. With the right preparation, your car will enjoy the benefits of enhanced protection, maintaining its aesthetic appeal for years to come.


