The first step of a professional tinting experience involves a consultation with the installer. You’ll discuss your needs, preferences, and budget, while the installer explains different tint types, such as dyed, carbon, metalized, and ceramic films. Each type offers varying levels of heat rejection, UV protection, and durability, so selecting the right tint depends on your priorities. Once you decide on a tint, the installer will show you sample shades, allowing you to choose the level of darkness or transparency that suits your taste and any local tint regulations.
Thorough Cleaning of Windows
For the tint to adhere properly, the glass must be spotless. Professionals start by cleaning the windows thoroughly, removing dirt, grime, and any residue that could cause bubbles or imperfections. This step includes scraping off any debris, stickers, or old adhesive to ensure the surface is entirely smooth. A clean window is essential for achieving a seamless bond between the tint film and the glass.
Precision Cutting of Tint Film
Once the windows are cleaned, the installer will cut the tint film to fit each window precisely. Professionals often use a plotter—a specialised cutting machine programmed with the exact dimensions of your car model. This precise cutting allows the film to cover every corner and edge, avoiding gaps and ensuring a perfect fit. In some cases, the tint is cut by hand, but experienced installers ensure the cut aligns flawlessly with your windows.
Application of the Tint Film
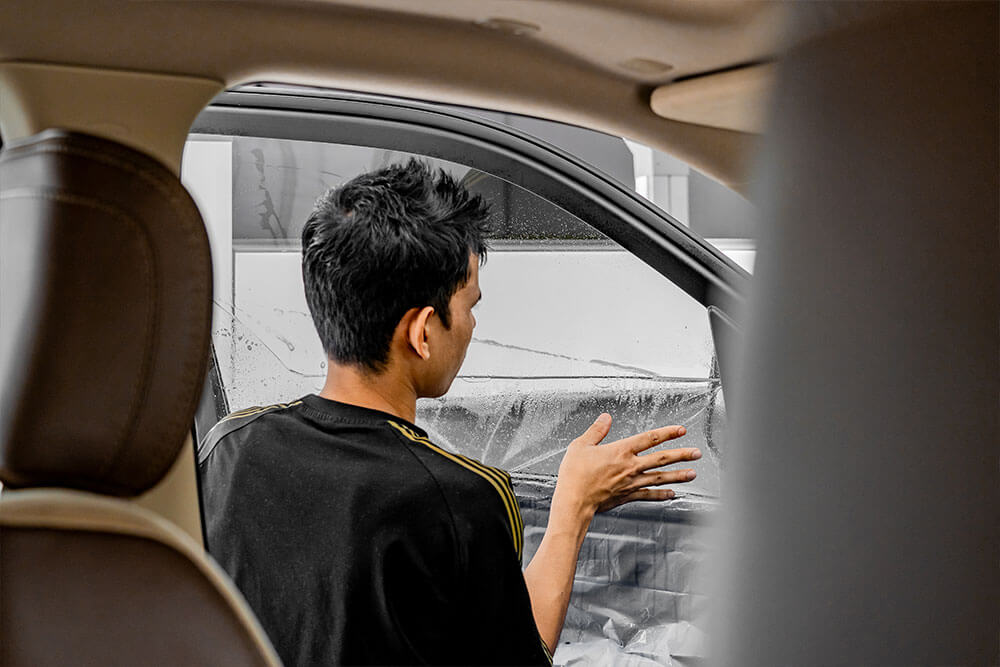
With the film cut and windows prepared, the installer will carefully apply the tint. This begins with spraying a solution on the glass and the tint film, which helps the film glide into position for an exact fit. Using a squeegee, the installer smooths the film from the center outward, removing any air bubbles or excess solution as they go. This step requires skill and patience, as bubbles, wrinkles, or creases must be completely eliminated for a professional finish.
Heat Treatment for a Secure Bond
After the tint is applied, the installer uses a heat gun to help the film bond with the glass. This heat treatment removes any remaining moisture and ensures a firm attachment, preventing peeling or bubbling over time. The heat also allows the film to mold to any curved sections of the glass, creating a snug, seamless fit. This curing process is crucial for long-lasting results, as it ensures the tint adheres fully to the window’s surface.
Final Inspection and Instructions
Once the installation is complete, the installer performs a final inspection, checking for any small bubbles, uneven edges, or imperfections. Any minor issues are corrected on the spot. You’ll also receive instructions on caring for your new tint, which typically includes avoiding rolling down the windows for a few days to allow the tint to settle fully. You may also be advised to use only non-abrasive cleaning products to keep the tint in good condition.
Final Thought
Professional window tint installation is a precise, detail-oriented process that ensures a perfect fit and lasting quality. From the initial selection to the final inspection, each step is designed to enhance the look and function of your car’s windows. Knowing what to expect allows you to appreciate the expertise that goes into a flawless tint, leaving you with a cooler, more comfortable, and stylish vehicle.


